PV3952 大众耐刮擦标准 PDF文档


Vertragspartner erhalten die Norm nur über die zust?ndige Beschaffungsabteilung.
Confidential. All rights reserved. No part of this document may be transmitted or reproduced without the prior written permission of a Standards Department of the Volkswagen Group.
Parties to a contract can only obtain this standard via the responsible procurement department.
? VOLKSWAGEN AG
N o r m v o r A n w e n d u n g a u f A k t u a l i t ?t p r üf e n / C h e c k s t a n d a r d f o r c u r r e n t i s s u e p r i o r t o u s a g e .
T h e E n g l i s h t r a n s l a t i o n i s b e l i e v e d t o b e a c c u r a t e . I n c a s e o f d i s c r e p a n c i e s t h e G e r m a n v e r s i o n s h a l l g o v e r n .
Q U E L L E : N O L I S
Page 2
PV 3952: 2002-08
5.3 Specimen
The specimens must be removed from the components under test and should be of a shape and size that ensures plane contact with the specimen holder and the supporting table of the respective spectrophotometer. The test surface must be plane parallel with the contact surface.
5.4 Specimen preparation
The surface of the specimens must be homogeneous and must have no foreign matter. Specimens should only be handled with clean, grease-free hands.
5.5 Conditioning
The specimens must be conditioned for a minimum of 48 h in a standard climate according to DIN 50 014-23/50-2.
5.6 Procedure
The test is performed at (23 ± 5)° C.
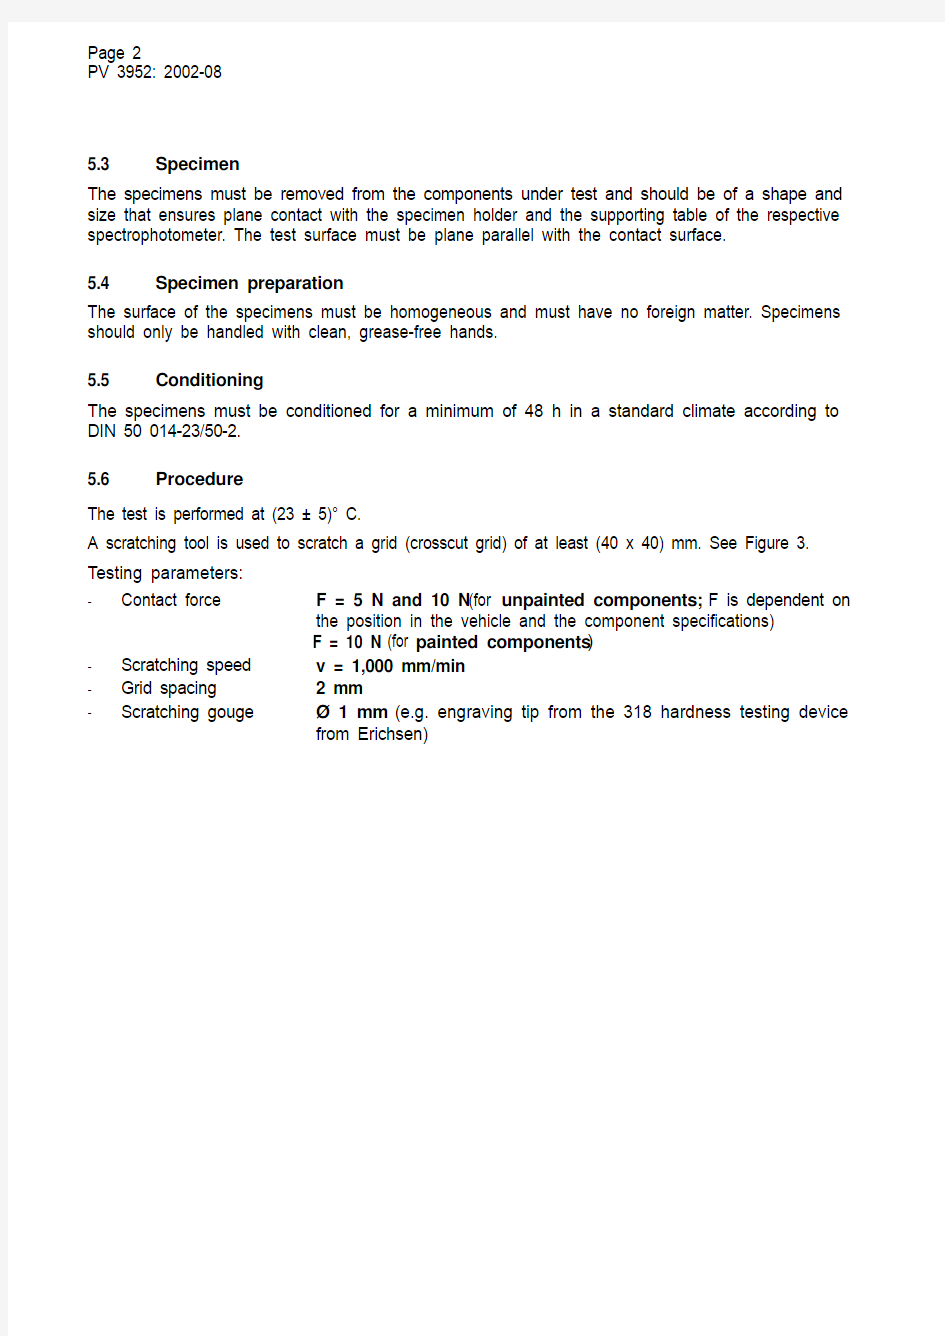
A scratching tool is used to scratch a grid (crosscut grid) of at least (40 x 40) mm. See Figure 3. Testing parameters:
-Contact force F = 5 N and 10 N (for unpainted components; F is dependent on
the position in the vehicle and the component specifications)
F = 10 N (for painted components)
-Scratching speed v = 1,000 mm/min
-Grid spacing 2 mm
-Scratching gouge? 1 mm (e.g. engraving tip from the 318 hardness testing device
from Erichsen)
Page 3
PV 3952: 2002-08 Specimen
mounting
Figure 1 -
Figure 1
Figure 2
Page 4
PV 3952: 2002-08
Grid spacing 2 mm
Grid width
approx. 40 mm
Figure 3
5.7 Evaluation
The measured values for dL*, da*, db* and dE* of the unscratched area from the scratched area, determined using colorimetry, are used for evaluation (measured value = mean of at least 5 indi-vidual measurements).
Measuring method acc. to DIN 5033-4
Color change acc. to DIN 6174
Illuminant: D65 / 10°
Measuring field diameter: ≥ 7 mm
In addition, a test of the measured values for plausibility of the optical impression must be per-formed (even when the measurements indicate an evaluation of OK).
6 Referenced standards
DIN 50 014Climates and Their Technical Application; Standard Climates
DIN 5033-4Colorimetry; Spectral Method
DIN 5033-7Colorimetry; Measuring Conditions for Object Colors
DIN 6173-1Color Sampling; General Color Sampling Conditions
DIN 6173-2Color Sampling; Lighting Conditions for Artificial Medium Daylight
DIN 6174Colorimetric Determination of Color Intervals with Object Colors According to the CIELAB Formula
